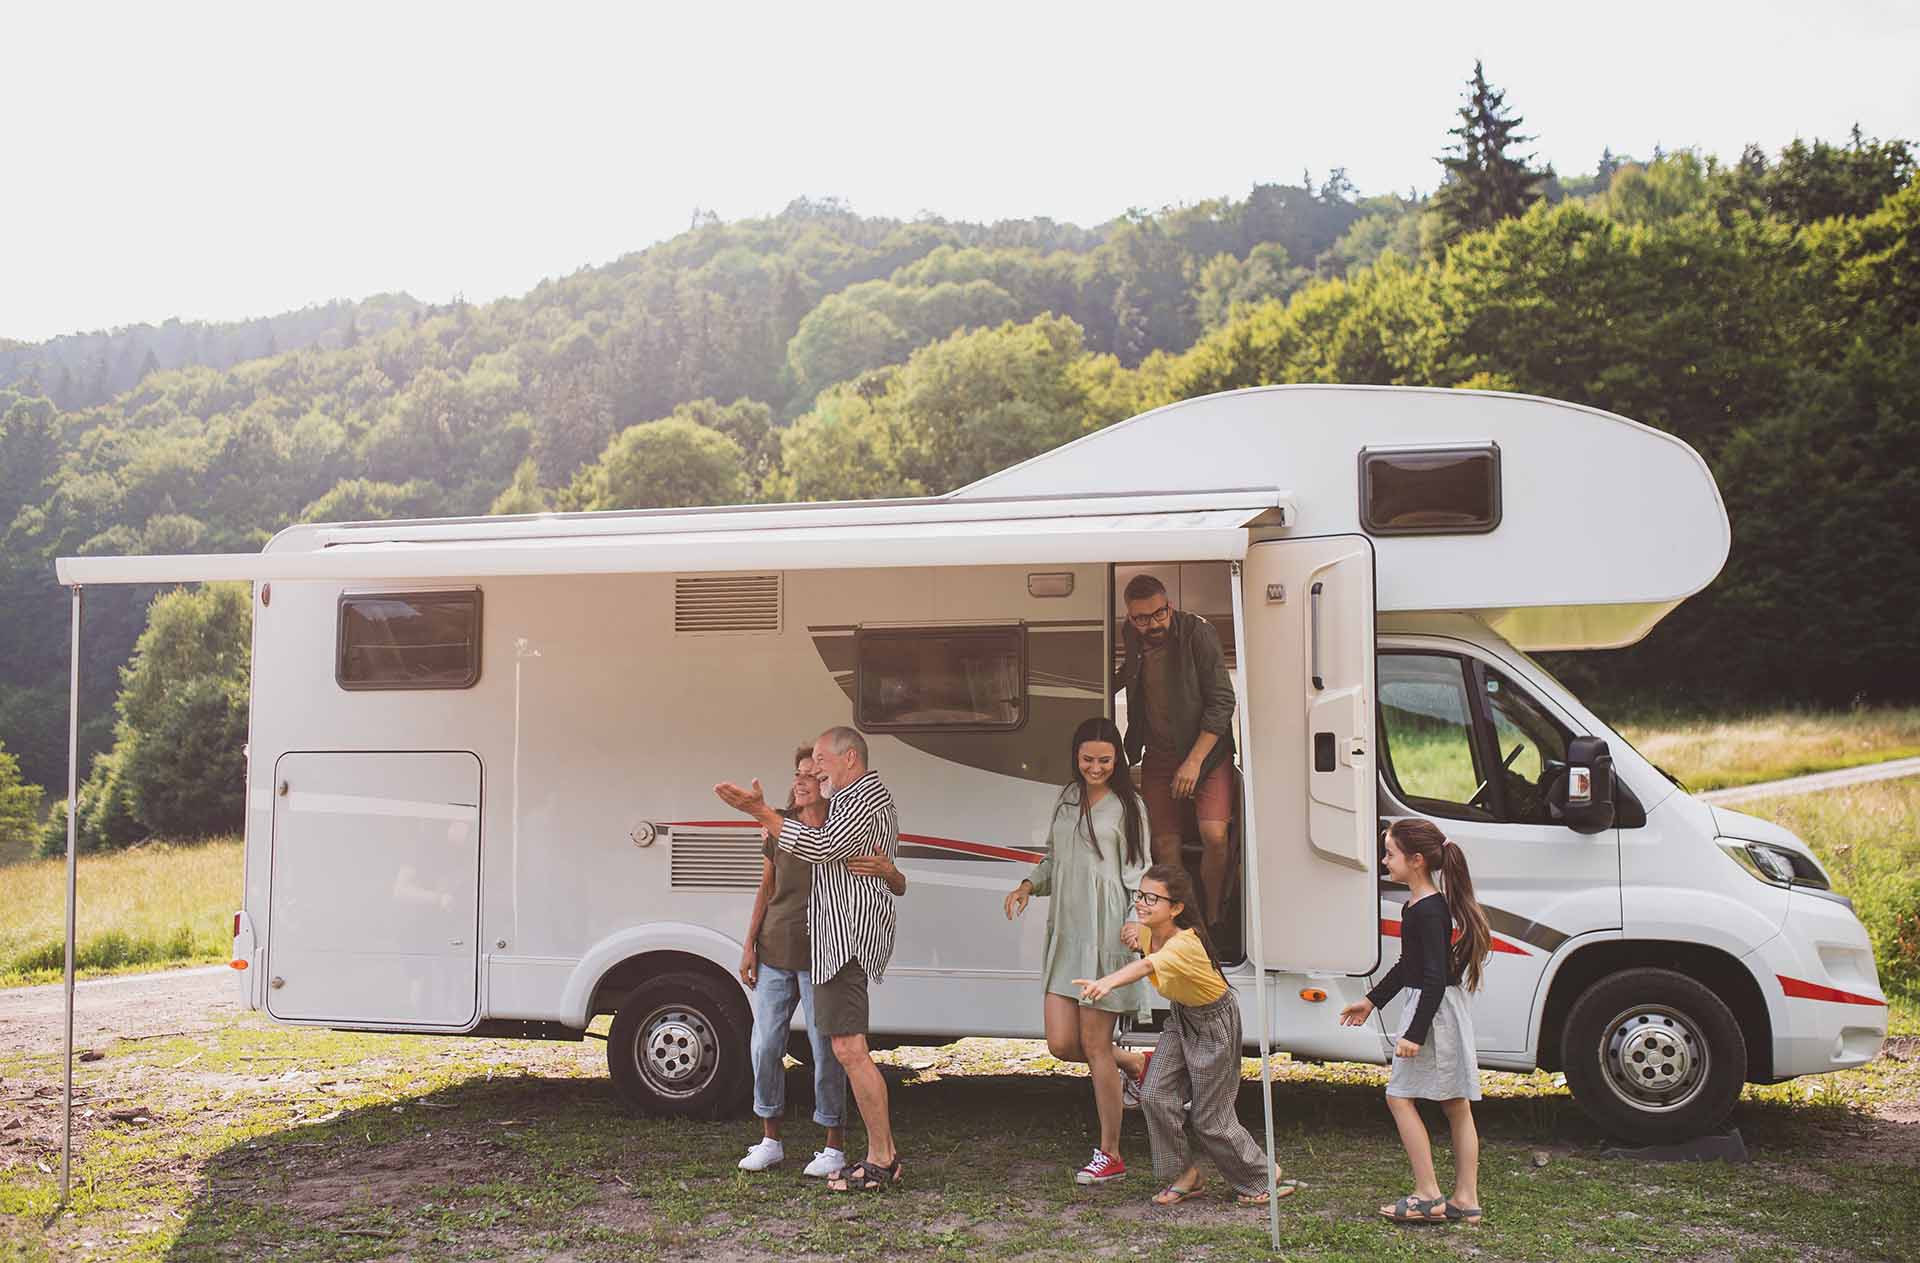
For many Canadians, a motorhome or camper isn’t just a vehicle; it’s a home on wheels, a symbol of summer freedom, and the key to countless family memories.
But when the leaves fall and the temperatures drop, your RV needs more than just a spot in the driveway.
Without proper winter storage, cold weather, moisture, and rodents can wreak havoc on both the mechanical systems and the living space inside.
Winterizing your motorhome or camper may feel like a chore, but it’s a crucial step in protecting your investment and ensuring it’s road-ready when spring rolls around.
Here’s a comprehensive guide to tucking in your home away from home for the winter months.
Why Winterizing Matters
Motorhomes and campers aren’t built to withstand months of freezing temperatures unprotected. Failing to prepare properly can lead to:
- Burst plumbing lines from frozen water.
- Mould and mildew grow from trapped moisture.
- Battery drain and electrical system issues.
- Rodent infestations can damage wiring, cushions, and insulation.
- Exterior wear from ice, snow, and road salt exposure.
By spending a weekend on winter prep, you can save thousands in repair bills come spring.
Step 1: Drain and Protect the Plumbing
One of the most common and costly mistakes RV owners make is neglecting to properly winterize the plumbing system.
Frozen water expands, and even a little leftover moisture can crack pipes or rupture the water heater.
- Drain fresh, grey, and black water tanks completely. Flush them out to remove residue.
- Bypass the water heater so you don’t fill it with antifreeze unnecessarily.
- Pump non-toxic RV antifreeze through all water lines, faucets, and the toilet until it runs pink.
- Don’t forget exterior showers or washing stations – they’re easy to overlook.
Step 2: Protect the Interior
Your motorhome or camper is also a small house, and like any home, it’s vulnerable to moisture and pests during long storage.
- Thoroughly clean before storage. Remove all food (even canned goods) and vacuum crumbs.
- Open drawers and cupboards slightly to allow airflow.
- Use moisture absorbers or dehumidifiers to reduce mould risk.
- Seal upholstery in breathable covers or place dryer sheets to deter rodents.
- Block entry points – stuff steel wool in small holes or gaps where critters might sneak in.
Step 3: Care for the Batteries and Electrical System
Batteries don’t like the cold.
Left unattended, they can discharge completely, shortening their lifespan.
- Fully charge batteries before storage.
- Disconnect and remove them if storing your RV for more than a couple of months.
- Store batteries in a cool, dry location off concrete surfaces.
- Check charge levels monthly and top up as needed.
Step 4: Maintain the Exterior
Canadian winters are tough on any vehicle – especially a large one with lots of seals, seams, and exterior materials.
- Wash and wax your motorhome or camper before storage to protect paint and finishes.
- Inspect roof seals and caulking for cracks and re-seal if necessary.
- Lubricate door locks, hinges, and slides to prevent rust or sticking.
- Consider a breathable RV cover that allows moisture to escape while keeping snow and ice off.
If you park outside, avoid trees where falling branches or sap could cause damage.
Step 5: Tires, Suspension, and Brakes
Large vehicles sitting stationary for months are prone to flat-spotting tires and rusting brake components.
- Inflate tires to the recommended pressure before parking.
- Use tire covers to protect against UV damage if stored outdoors.
- Move the RV a few feet every month, if possible, to shift tire pressure points.
- Chock the wheels for stability – avoid using only the parking brake long-term, as it can seize in place.
Step 6: Choose the Right Storage Spot
Where you park makes a big difference in how your RV weathers the winter.
- Indoor heated storage is ideal but often expensive.
- Outdoor storage on gravel or pavement is better than grass or dirt, which holds moisture.
- Elevate slightly with blocks under tires, if possible, to reduce contact with wet surfaces.
Step 7: Don’t Forget Insurance and Documentation
While your RV may not hit the road until spring, it’s still a valuable asset.
Ensure your insurance policy covers storage situations like theft, vandalism, or damage from falling branches.
Spring Wake-Up Checklist
Proper winter prep makes spring start-up much smoother.
When the snow melts:
- Reinstall and recharge batteries.
- Flush antifreeze from water lines and sanitize the freshwater system.
- Inspect for leaks, pests, and exterior damage.
- Test brakes, tires, and electrical systems before your first big trip.
Putting It To Bed
Your motorhome or camper represents freedom, family, and adventure – but only if it’s ready to roll when you are.
Taking the time to winterize properly is about more than preventing costly repairs.
It’s about peace of mind, knowing your home away from home is safely tucked in until the next season of exploration begins.
Canadian winters are harsh, but with the right preparation, your RV will be waiting for you in the spring, road-ready and adventure-worthy.


